
3.2 - How to integrate Timly with other IT applications
We provide a variety of integration solutions to facilitate seamless data exchange between Timly and your current platforms. This allows for the integration of Timly into your existing processes and systems, and vice versa. Although we offer standard APIs as described below, we are also equipped to develop custom interfaces tailored to your specific system requirements. For more information, please don't hesitate to reach out to us.
REST API
Timly's REST API facilitates automated access to inventory and personnel management data, allowing for retrieval, modification, insertion, and deletion of data records.
This API operates over the Hypertext Transfer Protocol (HTTP), offering the following methods:
- POST: Sends data to the server.
- GET: Fetches data from the server.
- PATCH: Updates an existing data record.
- DELETE: Removes a data record.
Automation can be achieved through scripting or programming languages, chosen based on the current IT infrastructure.
Activation of the REST API
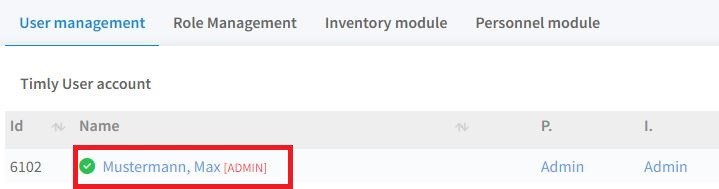
1. In the Timly app, go to user management:

2. Click on the required user account:
3. Under permissions, check the "API Access" box. Then click "Update" in the top right-hand area.
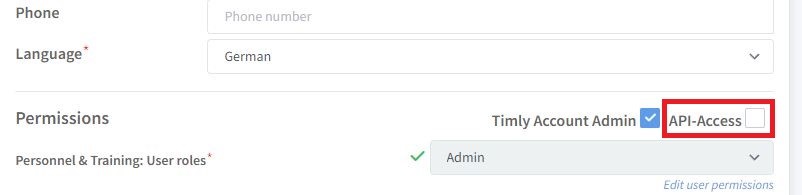
4. An API token is automatically generated. You can generate a new token at any time, which will automatically invalidate the previous one.

5 The server addresses of the Timly API and all other information can be found in the API documentation, which can be accessed via the main menu.
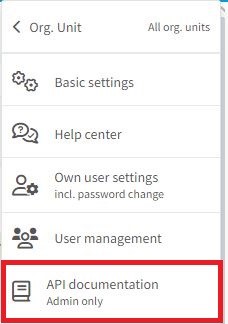
More information is available here.
Lansweeper API
With Timly, you can import a dataset managed by the IT asset management software, Lansweeper. This allows for the automated integration of hardware, software, and detailed information into Timly. The data to import can include:
- Device type and category
- Device Location
- Details of the manufacturer and the serial number
- Network information such as IP and MAC addresses
For easy access to the complete Lansweeper dataset, a link is generated and embedded within the respective device profile in Timly. Synchronisation can be initiated manually, and is updated automatically at regular intervals as defined by your admin. The data that can be imported into your Timly account depends on the data available in Lansweeper - only data already present there can be fed back into Timly.
1. Setting up the integration
To set up the Timly x Lansweeper integration, go to the basic settings in your user profile. There, you will find the Lansweeper configuration. There’s also a link to a help page on the Lansweeper website, which explains how to configure the Lansweeper API authentication. In the Lansweeper Developer Options, follow the instructions to generate an API key (token) for Timly. You can set the duration of how long this should remain valid and the organisational units to be imported. Copy the generated token using the integrated button in the Lansweeper menu and paste it into the API key field of Timly’s Lansweeper configuration. Then, click “Connect”.
2. Category mapping and validation
Next, you can assign the organisational units imported from Lansweeper to specific locations within Timly. For each location, you can decide which asset types to import and into which Timly category they should be integrated. Data validation and linking with assets already recorded in Timly are based on the serial number and/or MAC address. No format adjustments are needed as Timly is natively compatible with Lansweeper’s formatting. The actual import occurs after mapping is completed and the corresponding button is pressed.
3. Logging and monitoring
The import process takes a few minutes depending on the volume of data. The logging and monitoring function provides a display of the progress and scope of the transferred information. It indicates whether assets are newly created or updated, as well as their assigned categories. Additionally, there’s a list of all newly created or updated assets, each with a direct link to the created profile in Timly, allowing you to access and review the transferred content.
4. Security and data protection
The API commands for querying information from Lansweeper run as a backend process on the server where Lansweeper is installed. Authentication is done with a cryptographically secure token, and data is transmitted encrypted. Thus, using Lansweeper's integrated API poses no security risk.
SAP API
The REST API of both applications is available for synchronising the assets managed in Timly and the database of SAP applications. This enables access to all objects, attributes and methods used in Timly. A detailed list of the designations used can be found in the online documentation. More information here.
DATEV
Assets managed in Timly can be seamlessly integrated into the asset accounting of the accounting and tax program DATEV, regardless of their category. This ensures that the up-to-date inventory can be processed in DATEV without the need for manual additions.
The essential attributes included are:
- Asset Number
- Asset Description
- Account Number
- Purchase Amount
- Purchase Date
You also have the option to include in your export file additional attributes from your Timly asset management system. The export is in CSV format, suitable for direct import into DATEV.
Important: Mandatory Account Number
For successful integration into DATEV, an "Account Number" is required for each asset. To set up account numbers in Timly:
- Navigate to "Settings" in the main menu.
- Select "Categories & fields".
- Go to the "Finance" tab.
- Click on "Add account number".
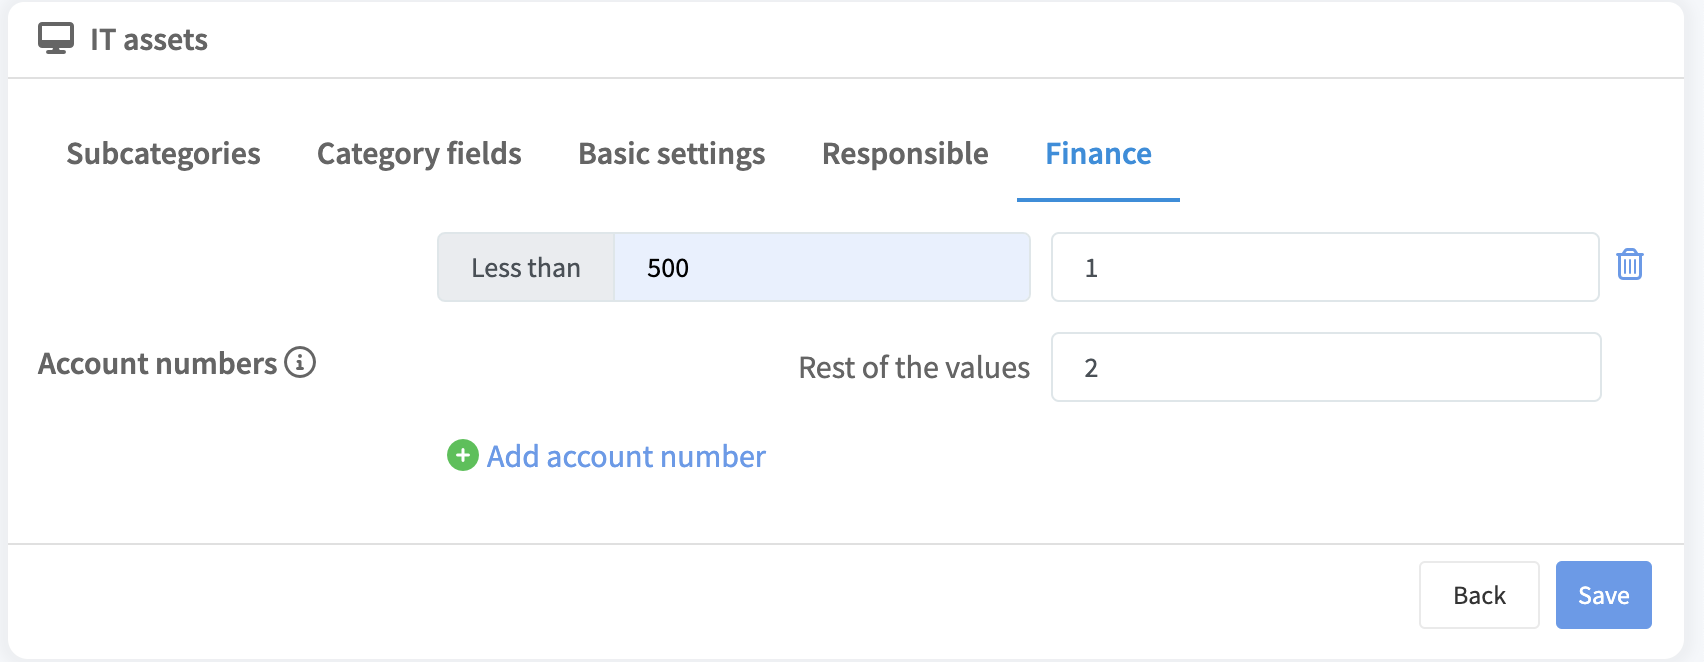
- Assign account numbers based on the net values of items. For example, items with a purchase price (excluding VAT) of less than €500 could be assigned to account number 1. You can then assign a different number, such as 2, for other values. Click "Save".
Fig. 1: How to define account numbers in Timly based item value.
Export Preparation
To prepare your data for export to DATEV in CSV format, follow these steps:
- Return to your Inventory overview by selecting it from the left-hand side menu in Timly.
- Scroll down to find the data export button located at the bottom of the page.
- Click on the data export button and select "DATEV - CSV" as your export option.
This process will export the data set that is currently selected, which you can customize by applying filters such as by category or location to suit your needs.
Note: The exported file will be emailed to the designated recipient.
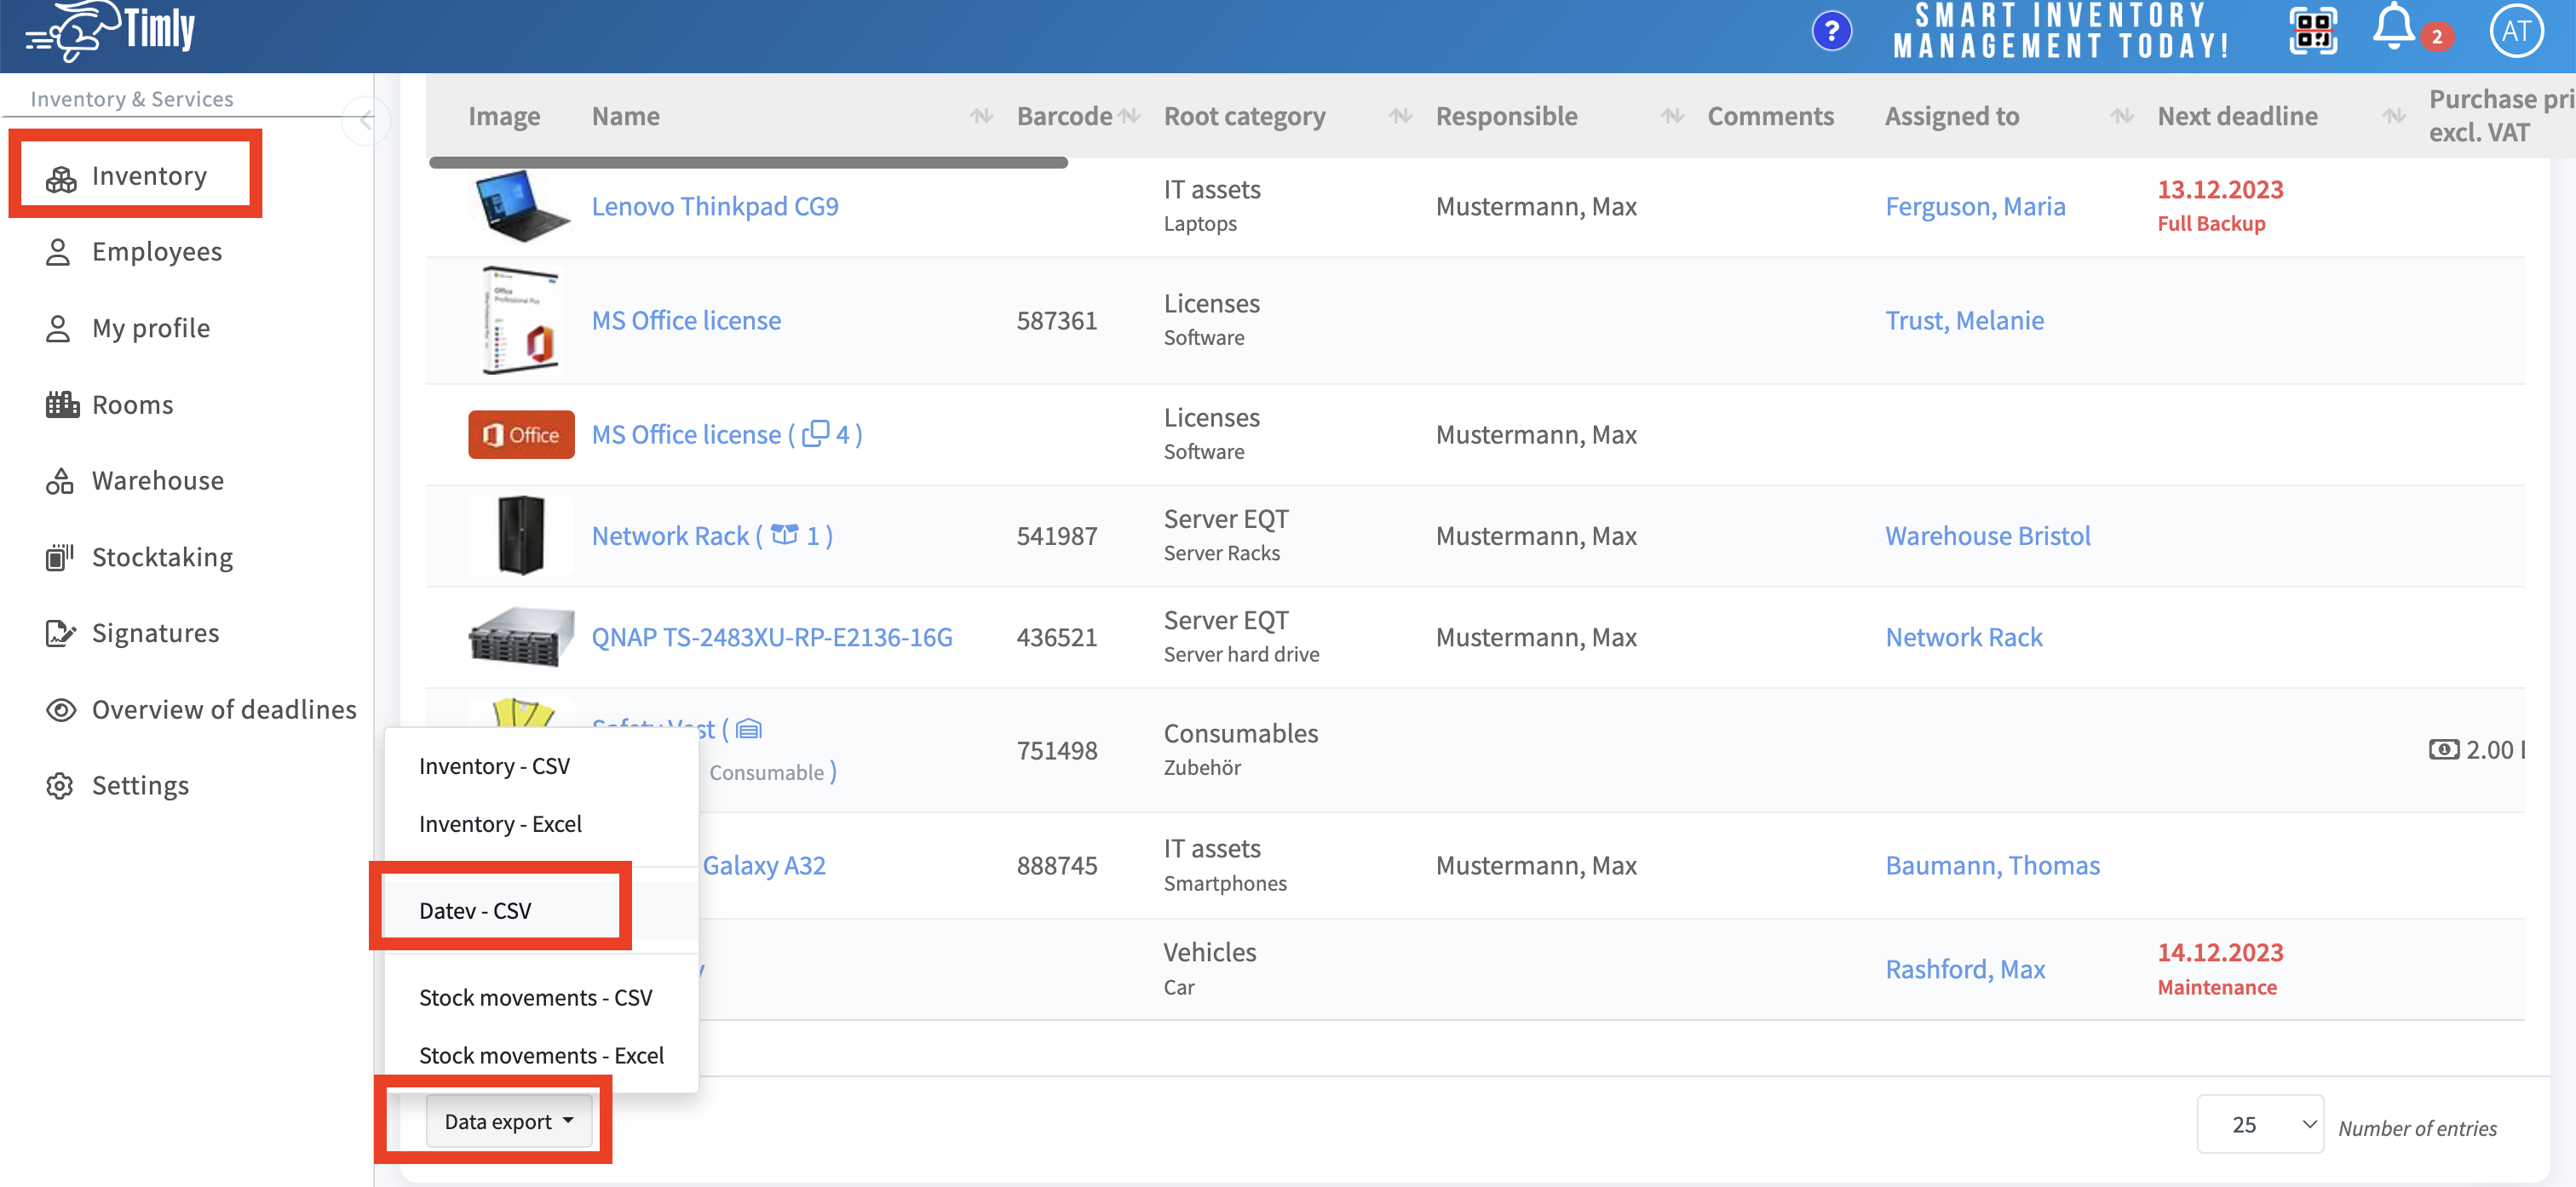
Fig. 2: Exporting your data for Datev.
Defining the Export Timeframe
After choosing the DATEV-CSV Export option, your CSV file will be sent by email and you will be taken to a new view. There, you can specify the details of your export and you have the opportunity to refine the scope of your export to items created between specific dates. This feature is particularly useful for generating reports for specific accounting periods.
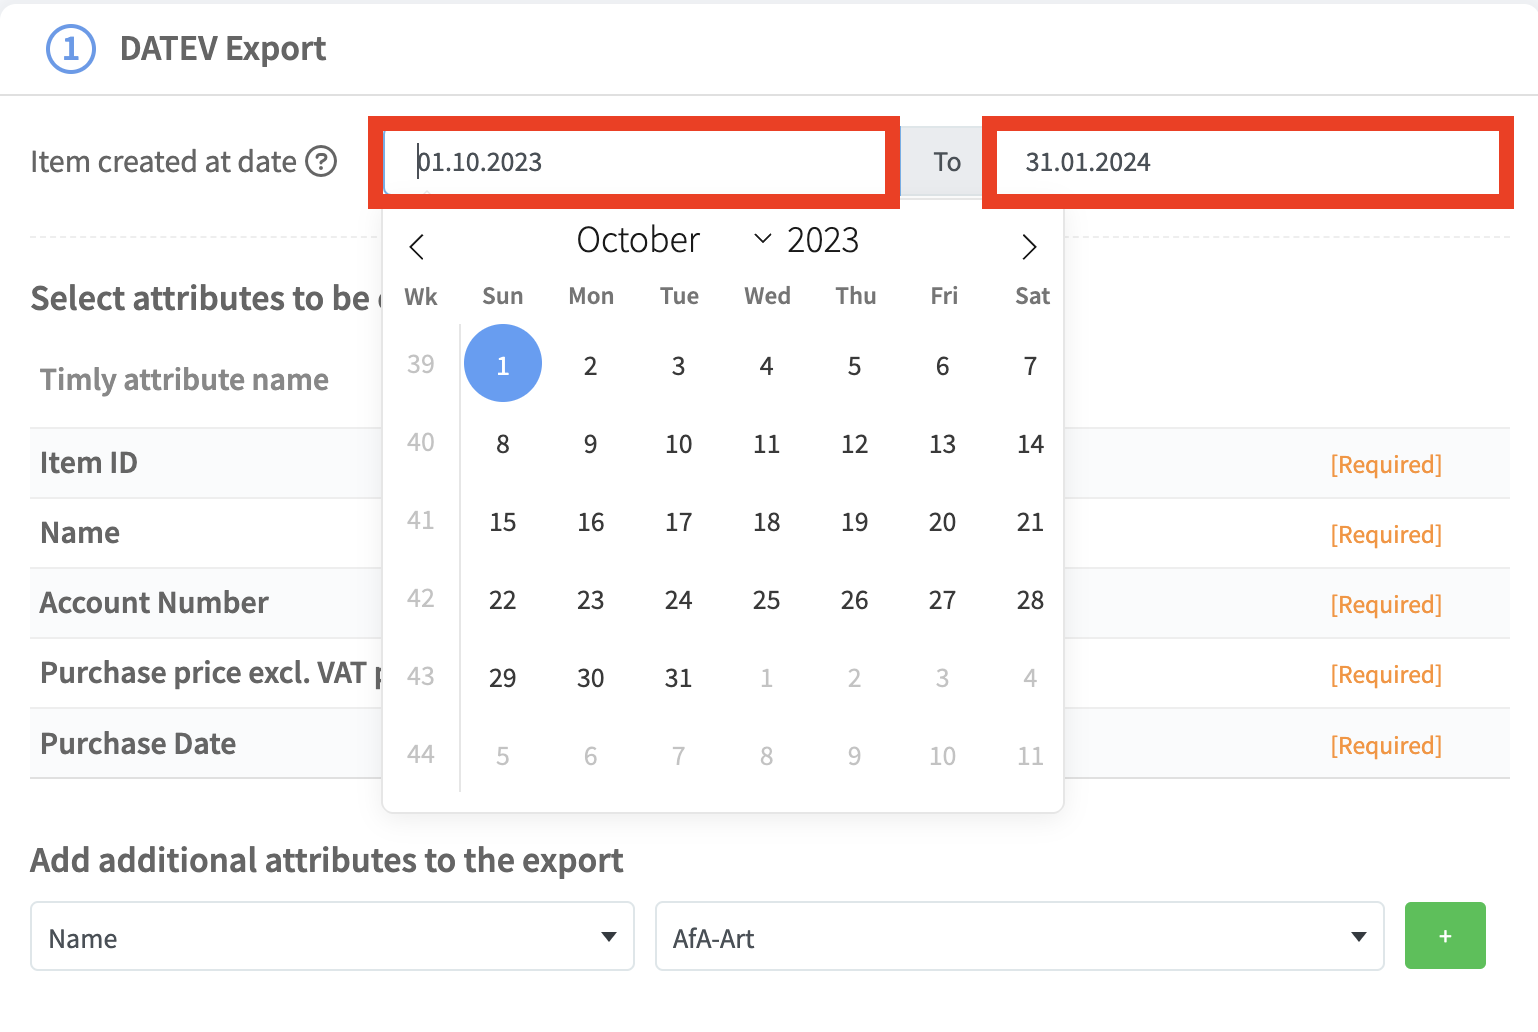
Fig. 3: Defining the export timeframe
Category Mapping
The five mandatory attributes are already linked to the corresponding data fields in DATEV and labeled with DATEV attribute names used there.
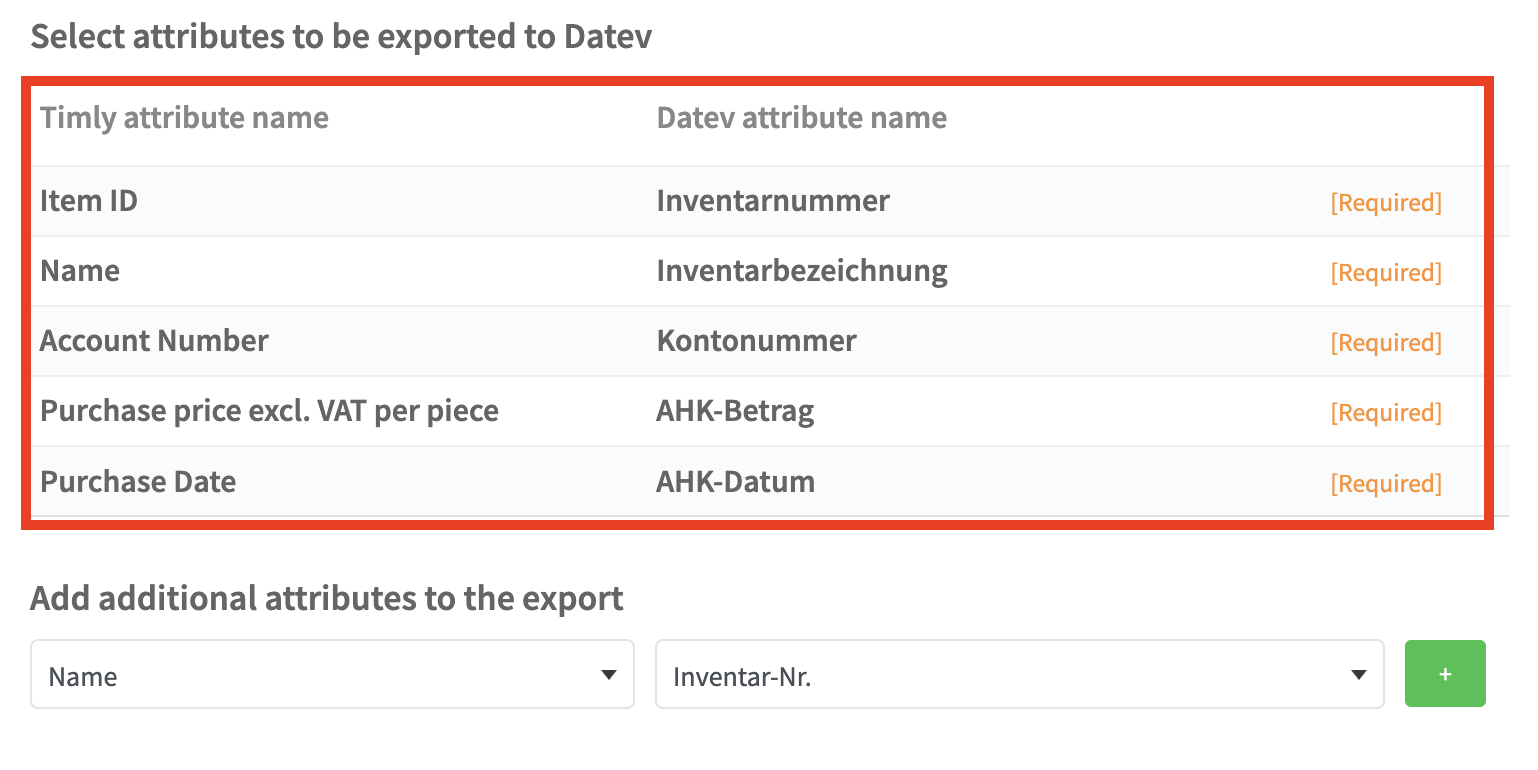
Fig. 4: Mandatory attributes
To add extra attributes from Timly to your DATEV export:
1. Select the attribute from the dropdown menu.
2. Assign a DATEV column label in the adjacent menu.
3. Click the green plus button to add the attribute pair
.
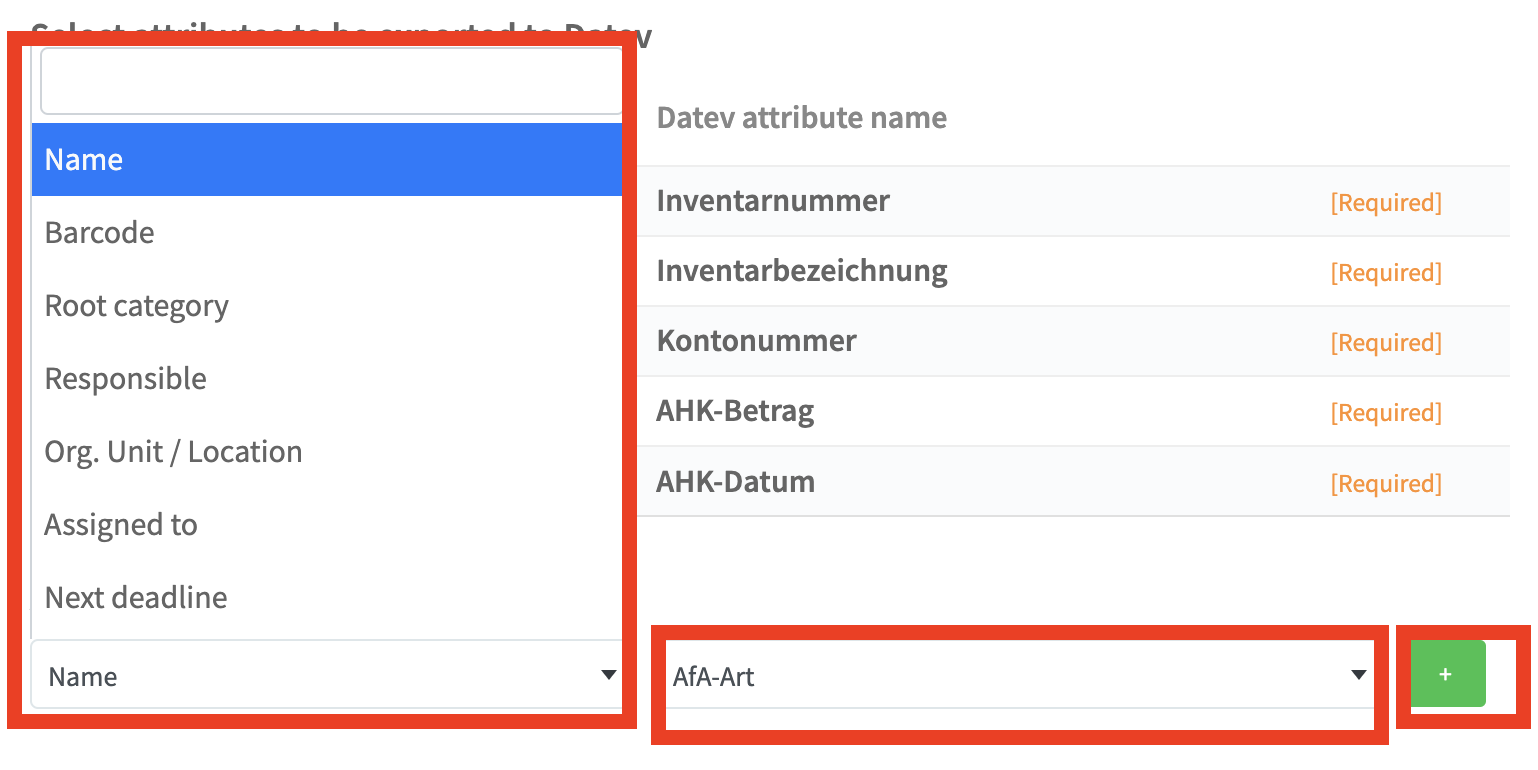
Fig. 5: Exporting additional attributes
Next, click the "Export" button to initiate the process. You will receive an email with a download link for the generated CSV file, sent to the email address associated with your Timly account.
Importing the CSV File into DATEV
The CSV file you've created can be directly imported into DATEV's accounting software without requiring further adjustments. More information is available here.
Microsoft Azure Active Directory
Timly can integrate with the rights management of Azure AD/Entra ID, allowing for centralized management of users, permissions, and resources in line with your Active Directory. This connection is established through the REST APIs of both software solutions. More information is available here. More information is available here.
Microsoft Dynamics 365
Timly can be integrated with the Dynamics 365 platform, enabling management of its applications. Integration is facilitated through the REST API, with details on application-specific aspects available in the online documentation. More information is available here.
ABACUS
Data synchronization or bidirectional data transfer between ABACUS ERP software databases and Timly is achievable using the REST API. Relevant specifications are detailed in the online documentation. More information is available here.